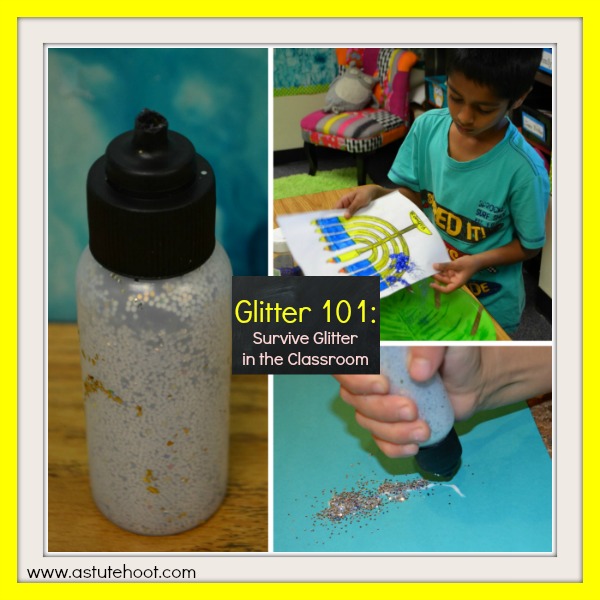
Glitter 101: How to Survive Glitter in the Classroom
For most, glitter evokes the holiday season, but for elementary teachers, just the thought makes their toes curl and sends shivers down their spines. Glitter is messy, time-consuming and ever-lasting (hence those few pesky sprinkles lingering around at the end of the year). The messiness discourages many teachers from incorporating glitter into art projects, but it is something every child should experience. Here are 6 tips to help you survive glitter in your classroom:
1. Set up space: Determine a large, easy-to-clean space that allows children to spread out during the glitter process. Plan a drying space within steps of the glitter location. I use my large, rectangular table by my classroom library. I pull the table away from the books, stack the chairs and place needed materials on the table. I set up a large canvas drop cloth at the carpet area (right next to the glitter table) where children place their masterpieces. The drop cloth catches any loose glitter and prevents children from walking across the room to the counter space, which is a glitter disaster just waiting to happen.
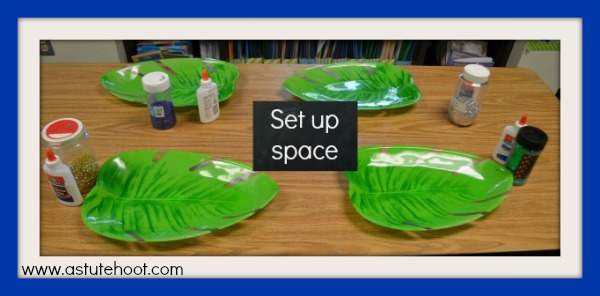
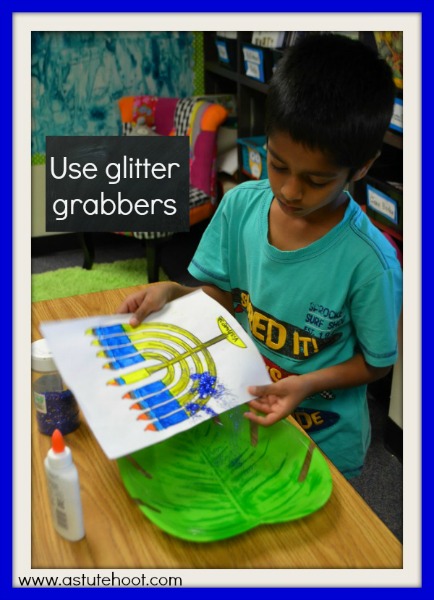
2. Use glitter grabbers: I provide children with the leaf trays (as shown in picture) or large plastic tubs to shake off extra glitter. Lunch trays, copy paper box lids, and dish pans (found at Dollar Store) are all perfect glitter grabbers. Plus they stack easily for storage.
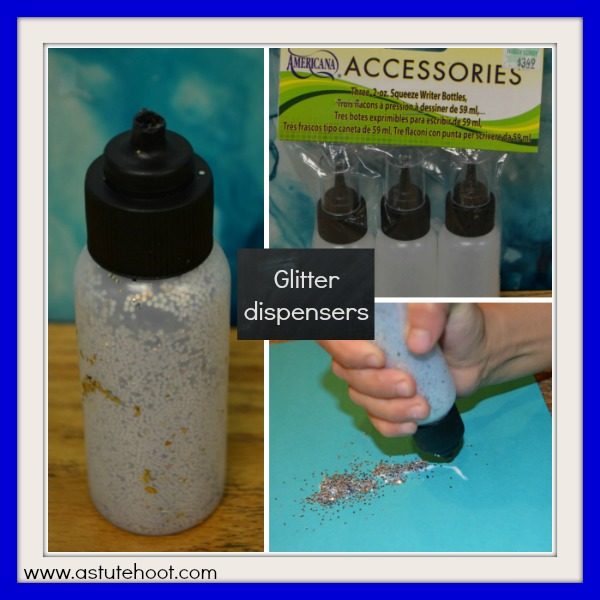
3. Make glitter dispensers: Avoid flying glitter by creating these inexpensive glitter dispensers. Simply purchase clear, squeezable condiment or paint bottles and fill with glitter. Cut the tip at the base to make a wider hole. Children squeeze glitter over desired area, providing more precise distribution of glitter.
3. Organize by color: I have 4 different colors of glitter on my rectangular table and each color has its own glitter grabber. This allows you to recycle extra glitter without creating a large container of ‘rainbow’ glitter at the end of each project.
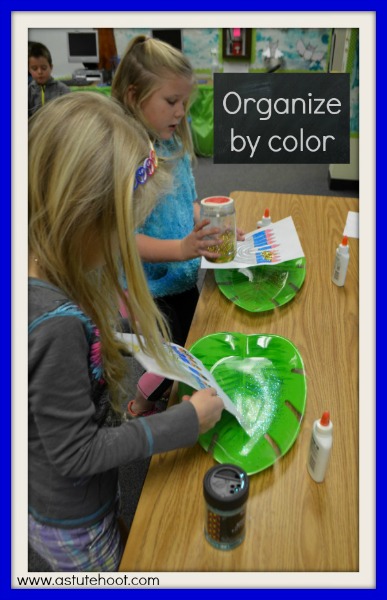
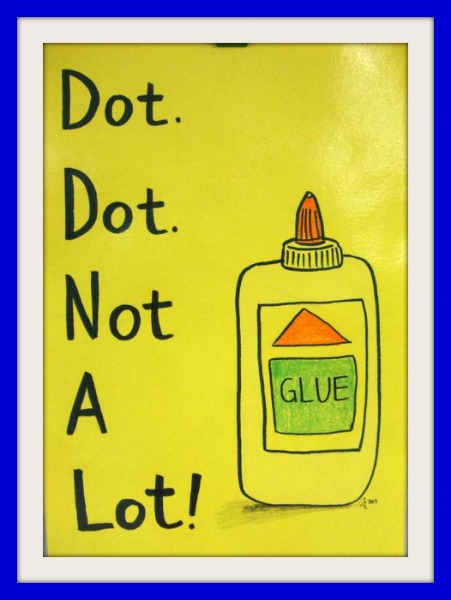
4. Modeling is a must: This week when I mentioned the words, “add glitter” my second graders squealed with joy. One child shouted, “I’ve never used glitter!” Shocked, I asked the rest of my class if they’ve used glitter before and only half raised their hands. While planning this project, I assumed that all had used glitter, thus assuming that they all knew how to use it as well. However, as teachers we must never assume that children have required background knowledge or previous experience. Glitter, like anything else, must be modeled explicitly. I first show how to use the Elmer’s glue by saying, “Dot, dot, not a lot.” I then show how to gently shake a SMALL amount of glitter over the glue and gently shake to cover all glue spots. Then I carefully tap excess over the glitter grabber. I talk aloud through each step so children thoroughly understand each step.
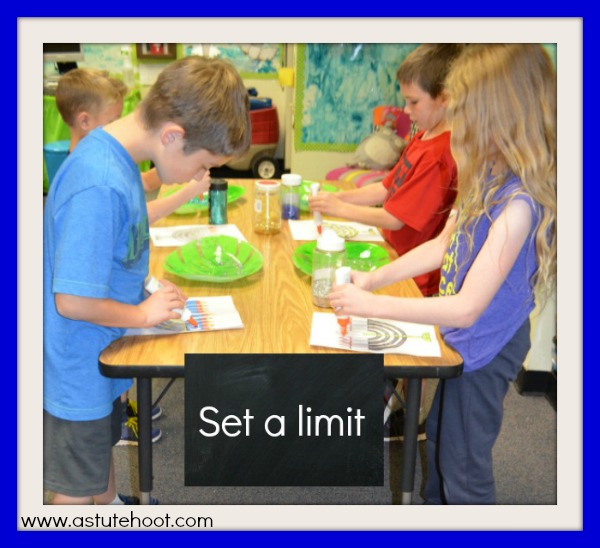
5. Set a limit: I only allow 4 children to glitter at a time; this gives students plenty of space and access to all of the necessary materials. I also set a timer and give a reminder half-way through to ensure that every child has equal glitter time. If you don’t limit the time, you will have a few who will try to spend all day there.
6. Thank your custodians: Even with these tried-and-true tips, children can get a little zealous with the glitter, causing a little extra work for your custodians. Let’s face it, school vacuums aren’t the most powerful machines out there. I always give my custodians a small, special treat to express my gratitude. They love this gesture and it prevents them from cursing my name after glitter sessions.

Have a glitter tip? I’d love to hear from fellow glitter gurus.


