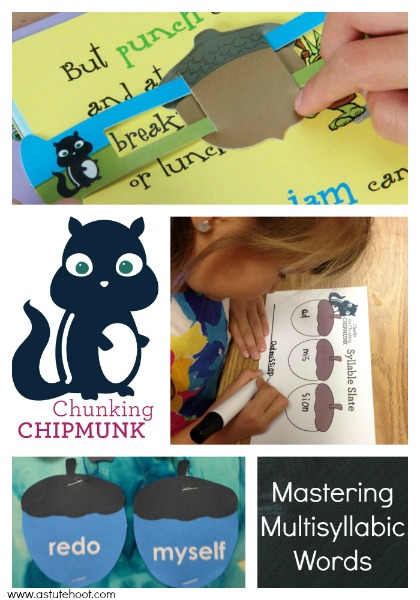
Mastering Multisyllabic Words
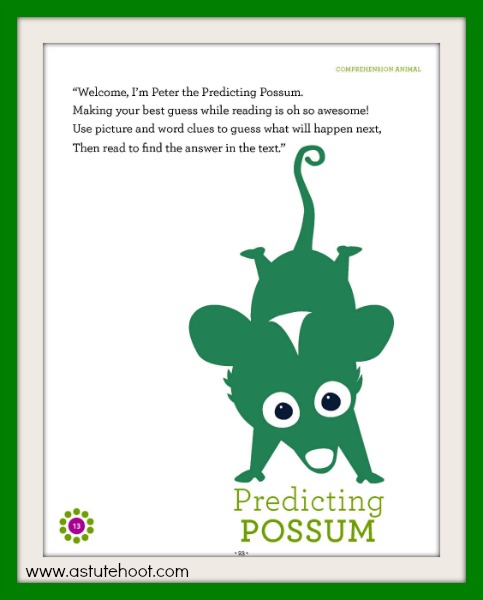
“I’m Charlie the Chunking Chipmunk. What’s new?
I break words into small chunks and you can, too.
Look for little words or sounds that you already know,
Join these sounds together to be the star of the show!”
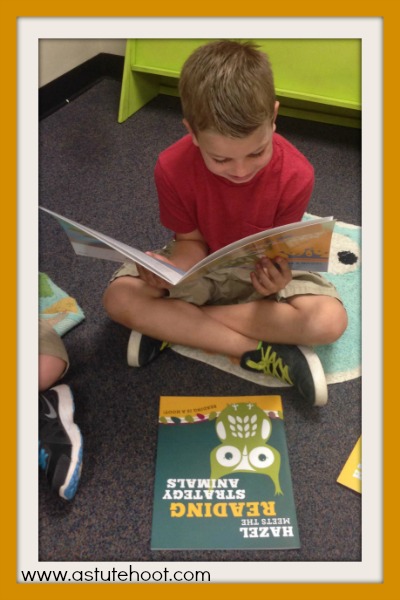
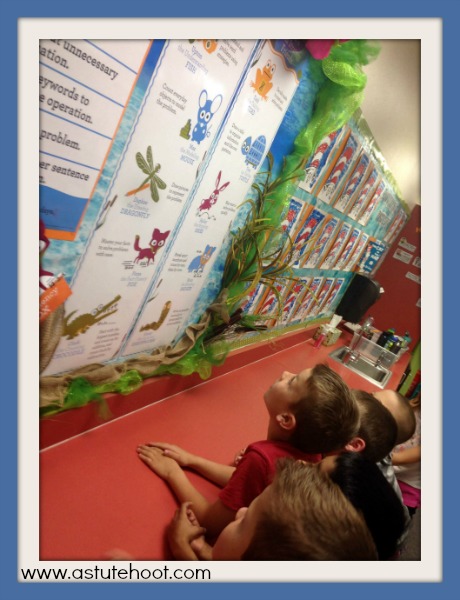
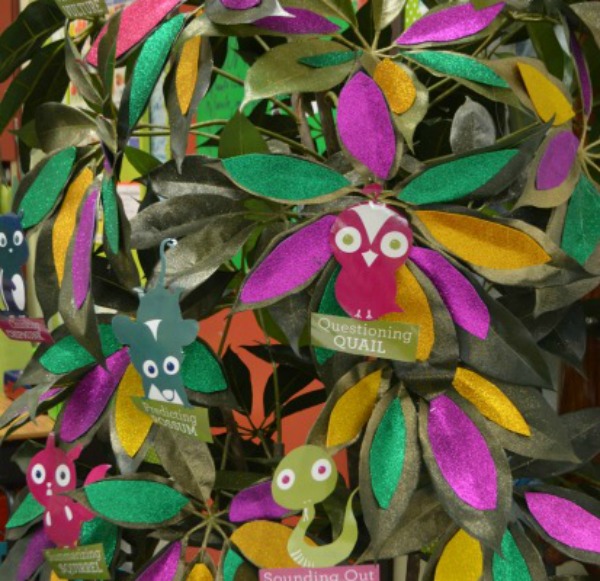
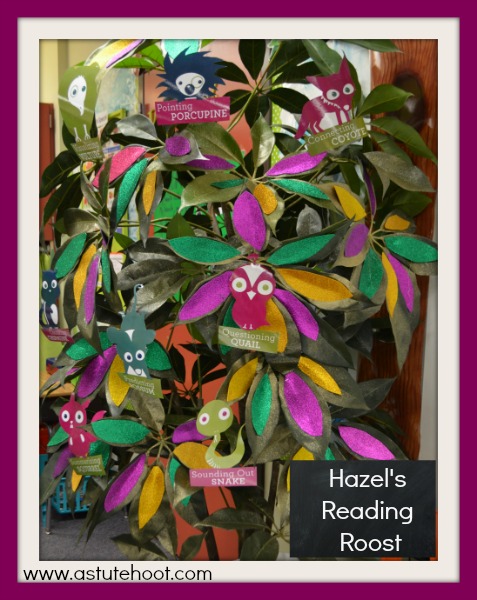
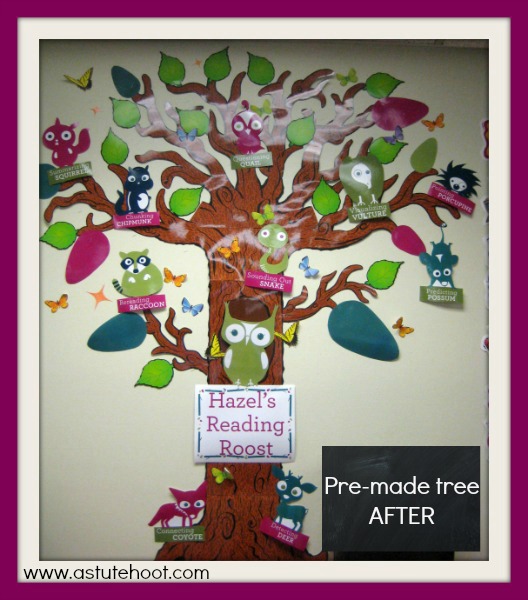
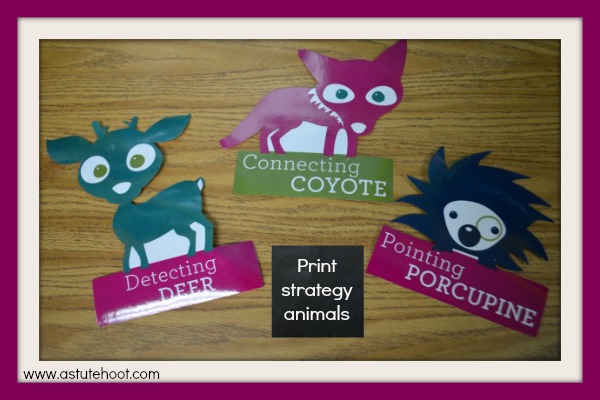
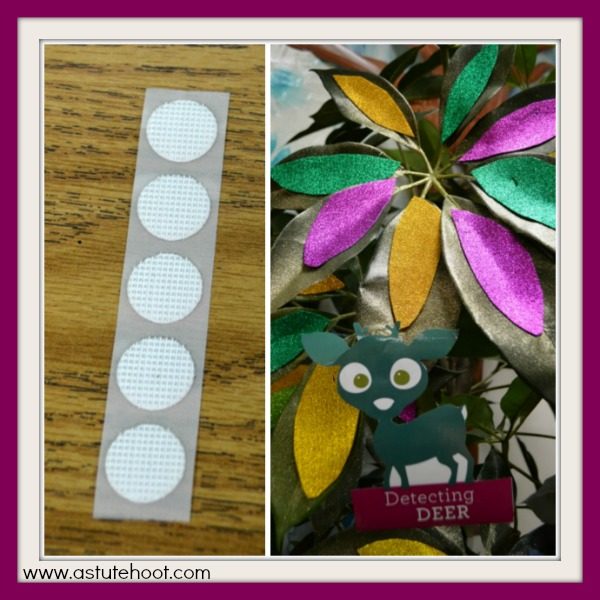
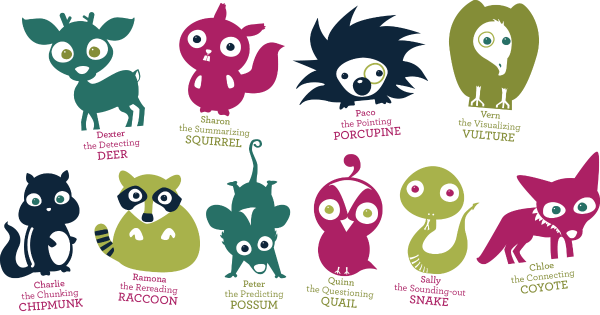
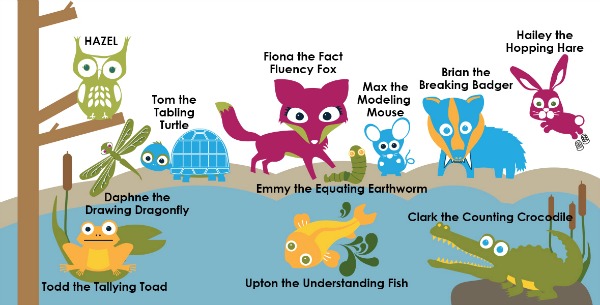
 Charlie the Chunking Chipmunk is one our decoding strategy animals in Hazel’s Reading Roost. Charlie motivates students to use strategies to decode multisyllabic words. Read more about Charlie’s strategy below…
WHAT is chunking? Chunking means breaking multisyllabic words into small units such as onsets and rimes, phonograms or letter combinations, syllables or morphemes.
WHY is chunking important? As students begin reading multisyllabic words, it is important for them to know how to break words into units larger than individual sounds. Identifying individual syllables is important because it helps students determine the correct vowel sound. By following syllabication rules, students can learn how to properly divide or chunk a word into syllables, which improves decoding and spelling.
HOW do I teach chunking? Explain that Charlie helps readers decode larger, unknown words by breaking the word into smaller chunks. Teach specific syllable types to show students how to chunk words. Decide which syllable types to teach based on your students’ instructional levels.
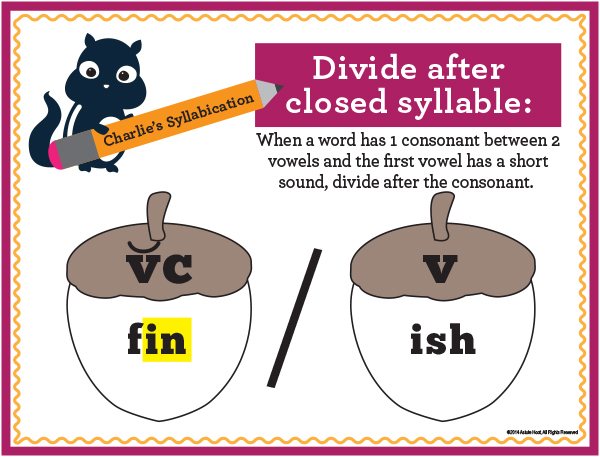
- Closed syllable: A syllable with one short vowel ending in one or more consonants (e.g., sunset, dishpan, lunchbox)
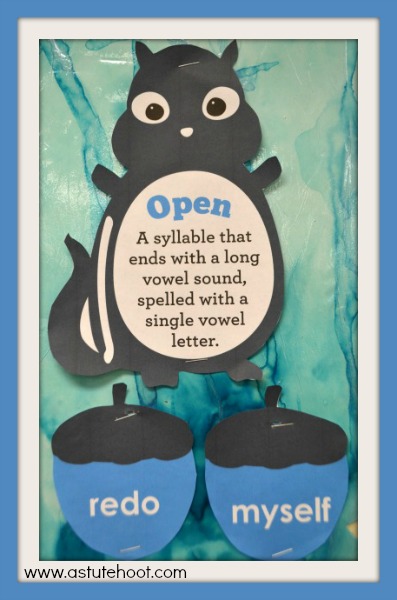
- Open syllable: A syllable that ends with a long vowel sound, spelled with a single vowel letter (e.g., open, myself, redo)
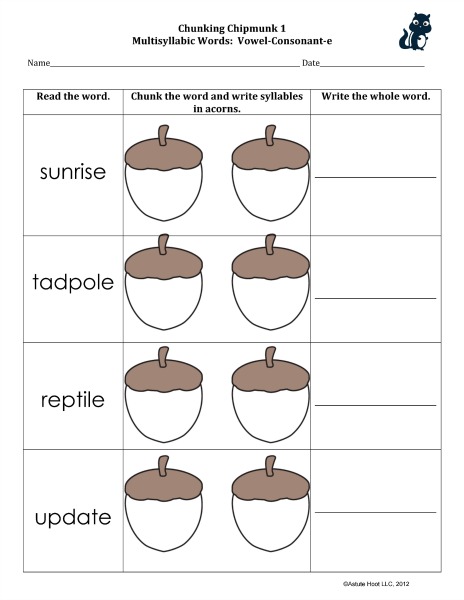
- Vowel consonant –e: A syllable with a long vowel, spelled with one vowel and one consonant and a silent e (e.g., shipmate, athlete)
- Consonant –le: An unaccented final syllable that contains a consonant before /l/, followed by a silent e (e.g., apple, little)
- Vowel team: A syllable with long or short vowel spellings that use two to four letters to spell the vowel (e.g., toaster, season)
- Vowel –r: A syllable with er, ir, or, ar, or ur in which vowel pronunciation often changes before /r/ (e.g., return, perfect)
Rather than teaching syllabication rules and types in isolation, integrate direct instruction with time for application of the skill in authentic literature. Practice many examples of each syllable rule and type to achieve mastery of that pattern before moving on to the next. In addition to using strategies such as dictation, marking words and flashcards, push students to find words with targeted syllable types in literature and use those words in their writing.
We recommend using our Charlie Chunking Chipmunk resources as a supplement to a research-based, multi-sensory phonic program that includes structured, explicit, systematic, cumulative instruction. Although we do not endorse a specific program, our students have demonstrated great success using the Wilson Language System and the Spalding Method. Read reviews of specific literary programs at What Works Clearinghouse.
WHEN should I use chunking?
Explicit reading strategy instruction should be included in a balanced literacy program. Charlie Chunking Chipmunk can be incorporated into various components of literacy lessons. Here are some specific examples of when to use Charlie:
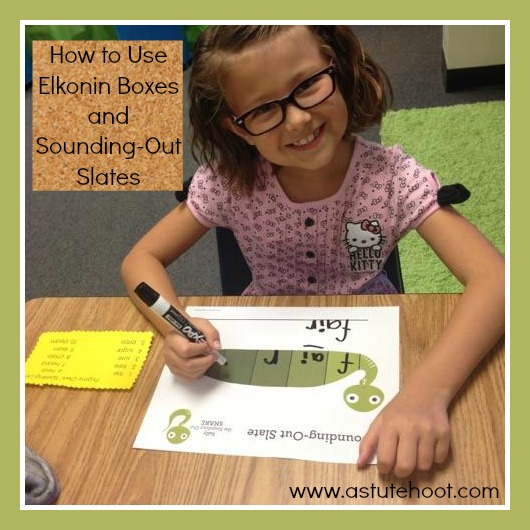
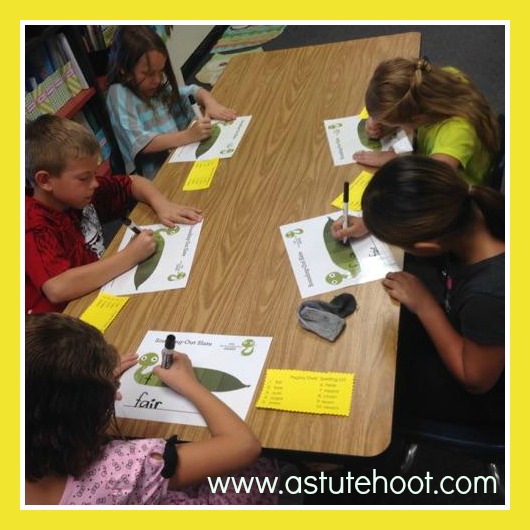
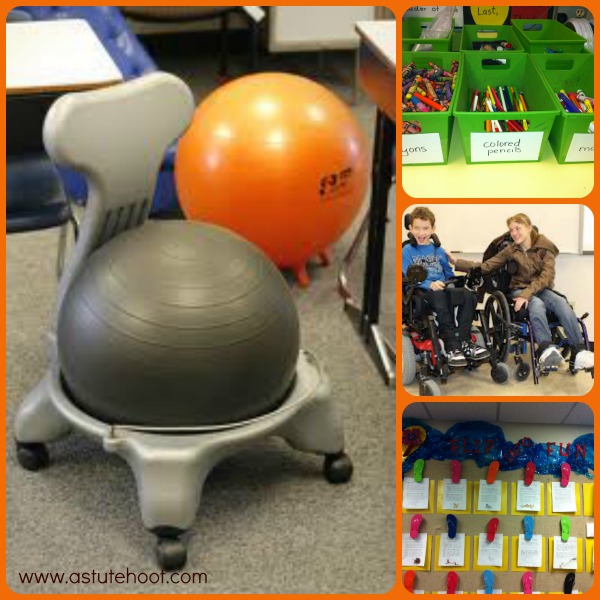
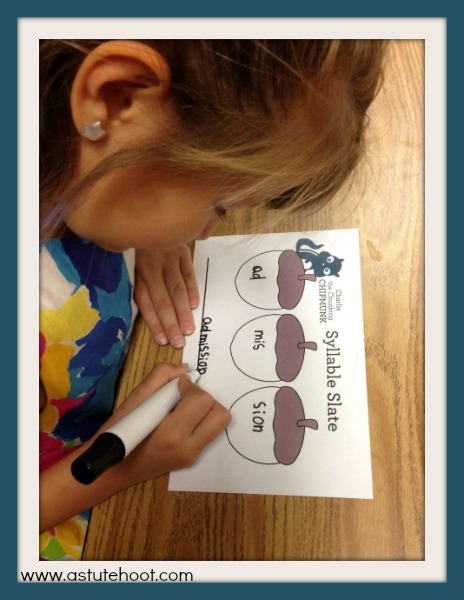
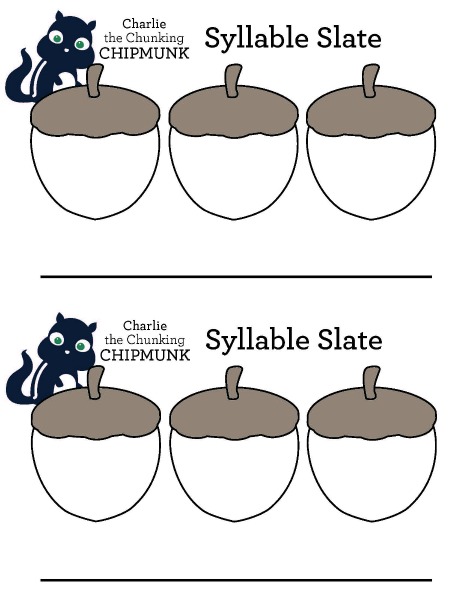
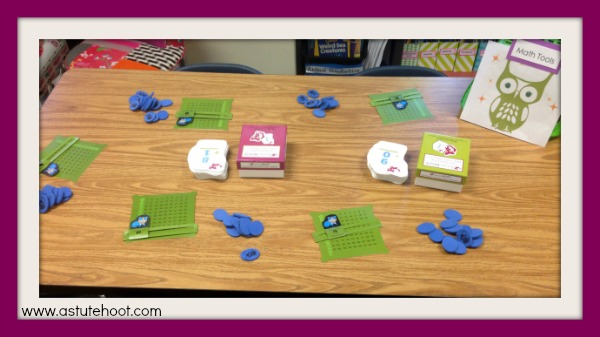
- Phonics Fun: Choose several two- or three-syllable words from a weekly spelling list or phonics word study list. Choose a multi-sensory strategy (see below) to count syllables. Guide students through syllabication of each word on laminated Charlie’s Syllable Slates (see below). First students write each syllable in one of Charlie’s acorns and then write the whole word on the line below. Discuss syllable types and rules as applicable.
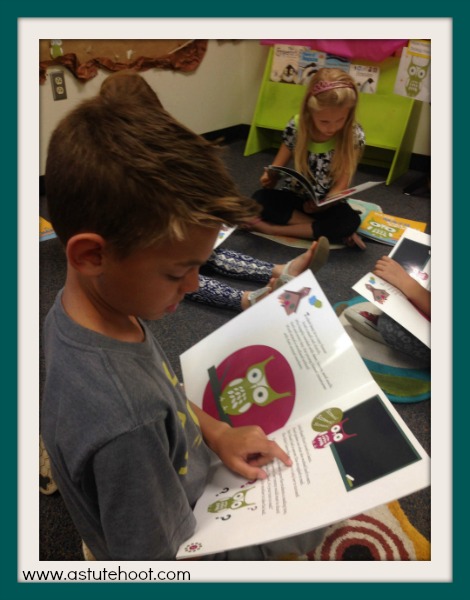
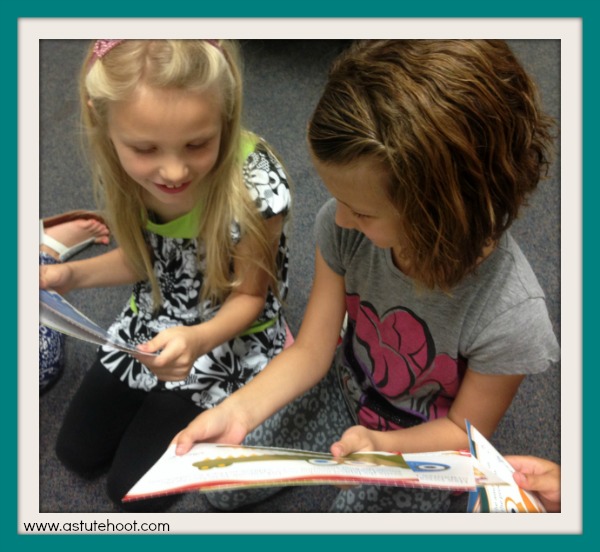
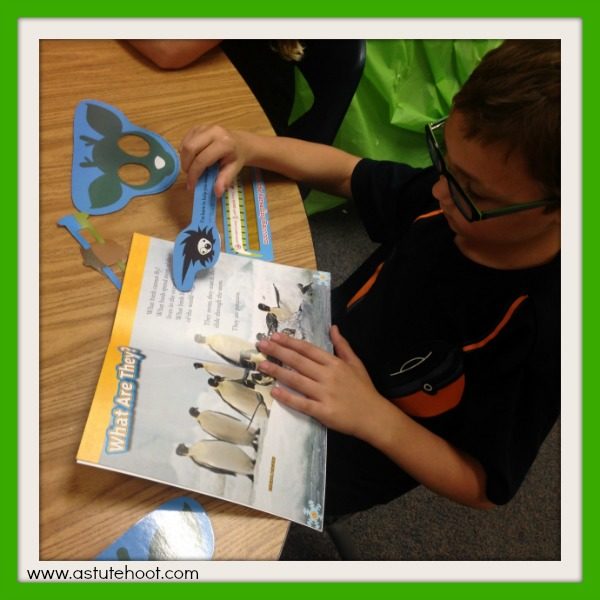
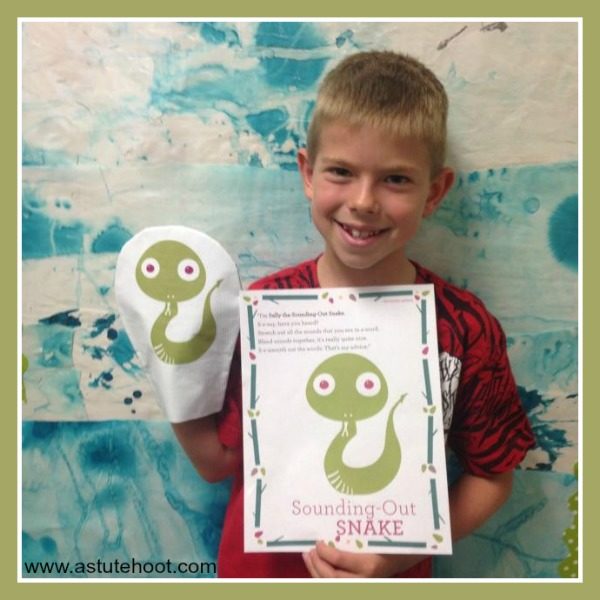
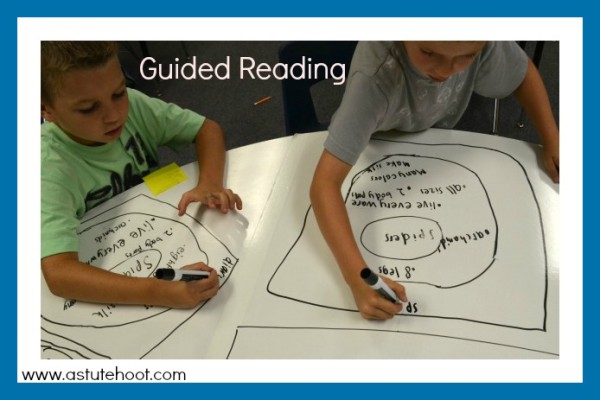
- Guided Reading: Introduce or review the chunking strategy by reading the Charlie Chunking Chipmunk Poem. Read aloud your selected guided reading text and model using Charlie’s Syllable Slate to read multisyllabic words in context. Call on individual students to practice using Charlie’s Slate with additional words. Encourage students to use Charlie Chunking Chipmunk’s strategy when they are reading independently as well.
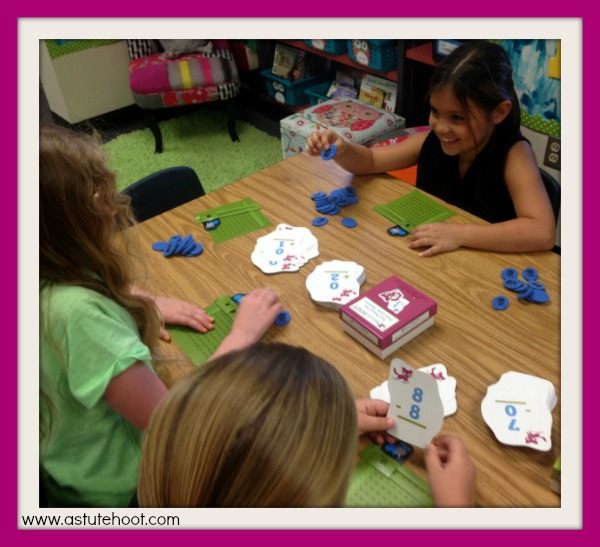
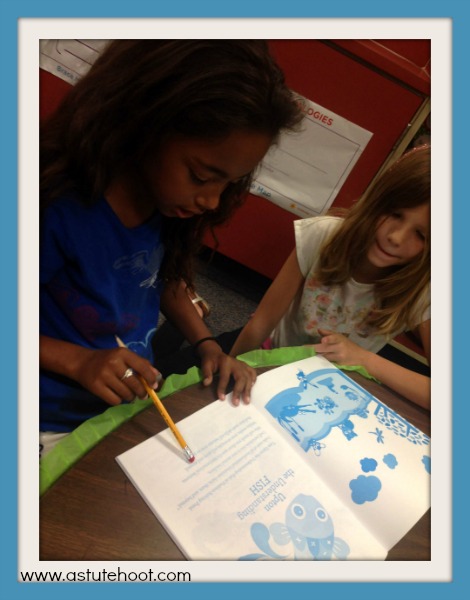
- Chunking Chipmunk Reading Center: Create a portable reading center. Place Charlie’s Syllable Slate or a laminated copy of the Two-Syllable Chunking Chipmunk Reproducible and/or Three-Syllable Chunking Chipmunk Reproducible, dry erase marker, eraser, and 10 to 20 targeted multisyllabic words written on index cards or preprinted on flashcards in a large manila envelope with a copy of the Charlie Chunking Chipmunk Poem glued onto the front. Instruct students that during center time they are to take an envelope to their desks and apply Charlie’s strategy to practice reading the words and then practice spelling by using the dry erase marker to write the words on the laminated reproducible or slate.
Helpful hints:
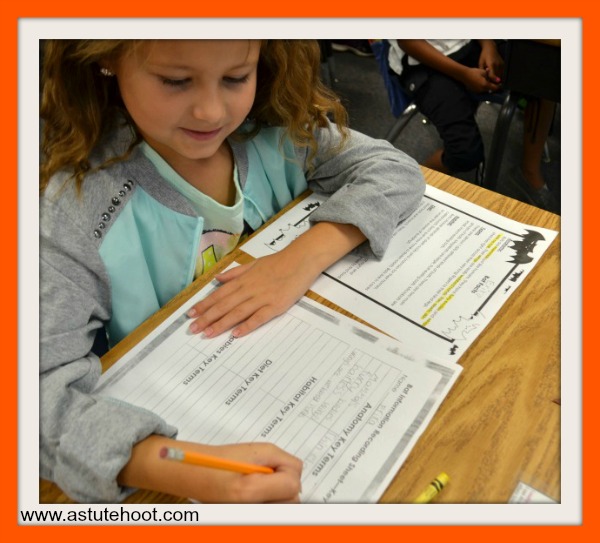
- Create a class set of Charlie Chunking Chipmunk Syllable Slates. Print slates onto cardstock using color printer and laminate. Distribute to class and explain specific procedures for using the slate (e.g., write one syllable in each acorn; no doodling, etc.). Use the slates to provide opportunities for strategy practice and application. They are perfect for spelling words, targeted phonics patterns or syllabication practice in a whole group, small group or one-on-one setting. These slates keep students actively engaged and serve as an informal assessment.
- Incorporate multi-sensory components. Introduce a variety of ways to determine the number of syllables in words.
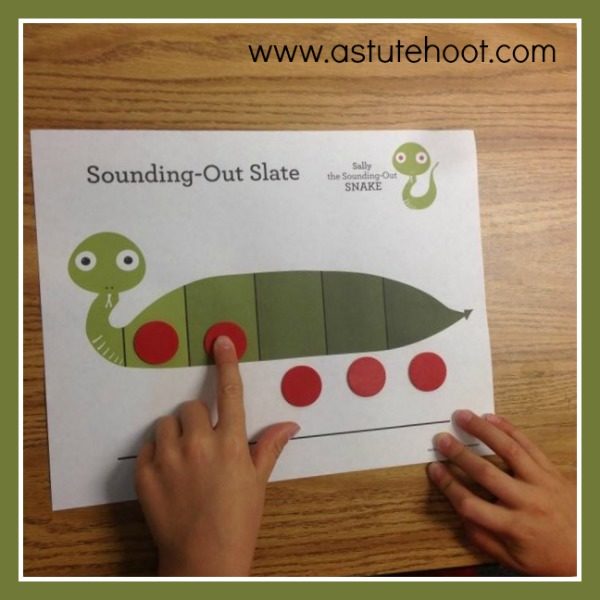
- Visual: Using Charlie’s Syllable Slate, have students draw a scoop under each acorn, reading the syllable aloud as they draw.
- Auditory: Prompt students to clap each part of the word to determine the number of syllables as they say the word aloud.
- Tactile: Instruct students to put their hands under their chins and say the word. Tell them the number of times your hands move down is the number of syllables in the word.
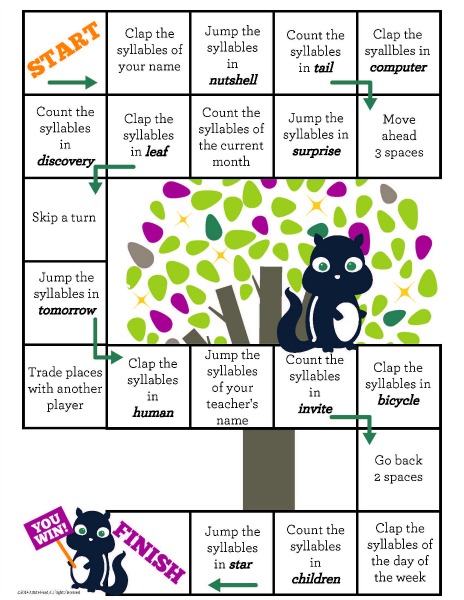
- Kinesthetic: Break apart the word and jump each part. Demonstrate how the number of jumps is equal to the number of syllables. Practice different syllable types using the Charlie Chunking Chipmunk game board.
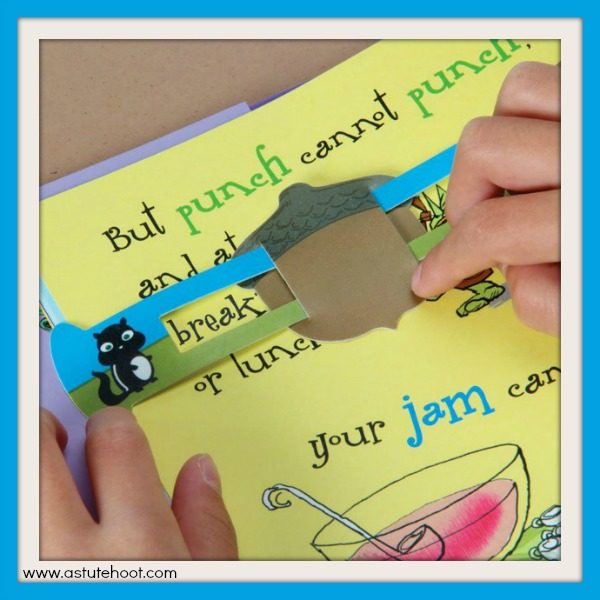
- Use Chunking Chipmunk Slide and Learns. With these fun hands-on slider tools, Charlie the Chunking Chipmunk makes breaking words into chunks easy. Just slide the acorn along the window to reveal one syllable at a time. Available for purchase at Really Good Stuff.
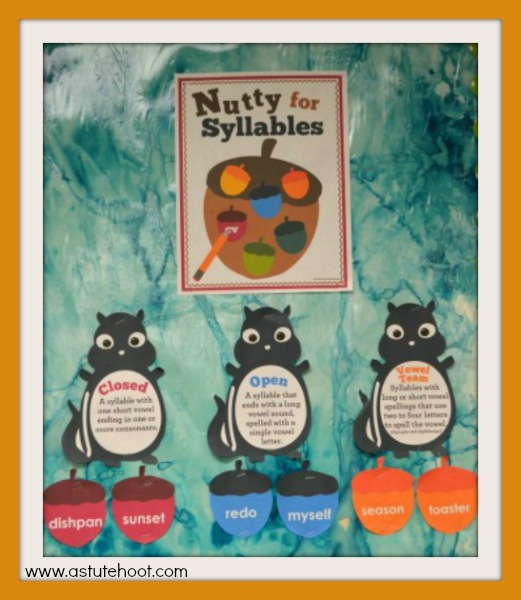
- Display Syllable Word Wall. Print out Charlie’s Nutty About Syllables Word Wall and display in a prominent location near the guided reading table. Post each syllable type as it is introduced to students; use color-coded acorns to add examples of words used in instruction. Model referencing the Word Wall during reading and writing lessons.
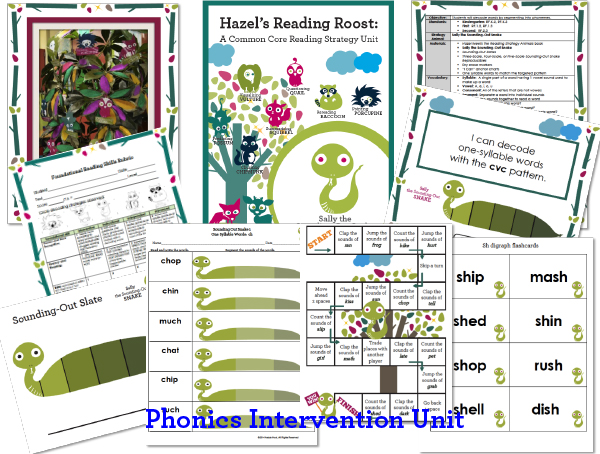
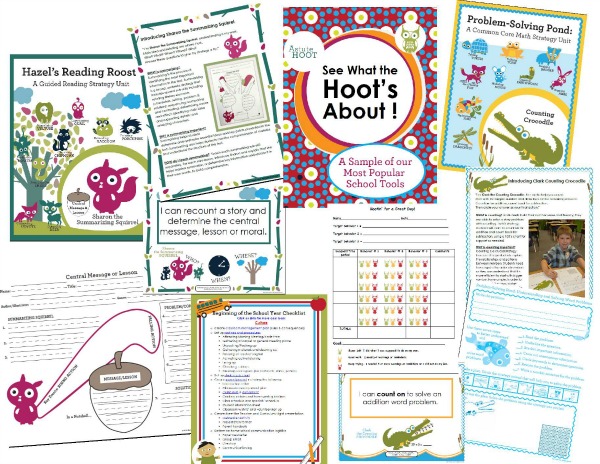
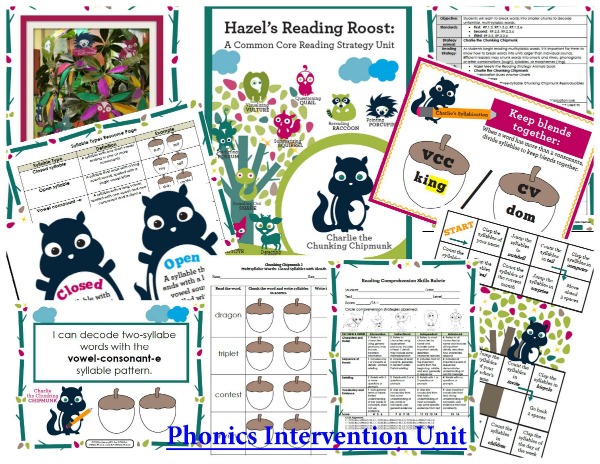
Charlie’s unit is perfect for general education, special education, RTI and reading intervention. Download the complete unit here. Check out our complete line of supplemental hands-on resources at Really Good Stuff.

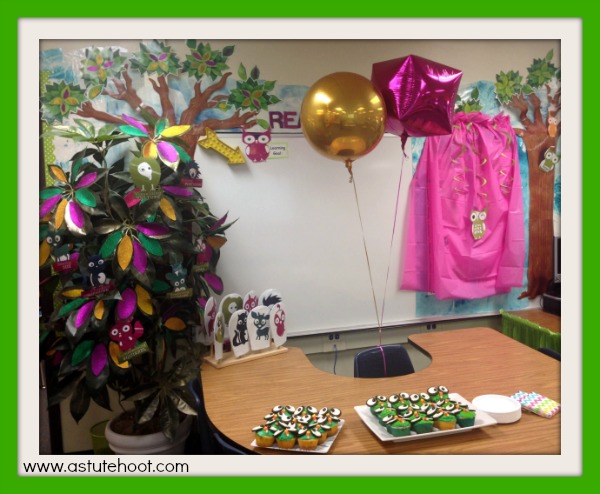
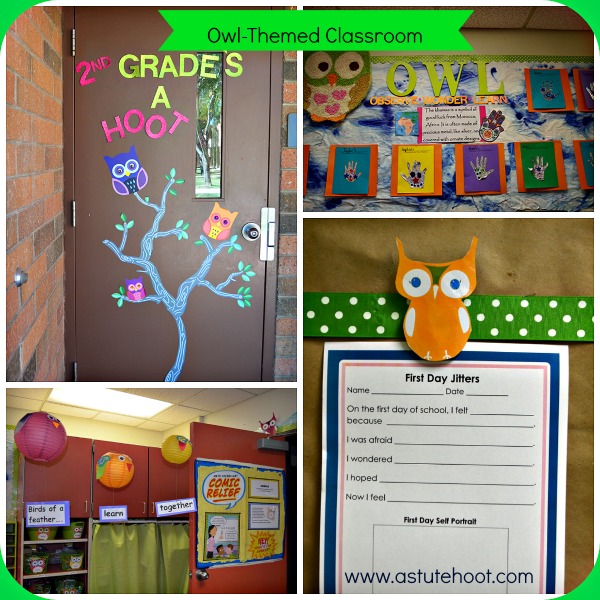
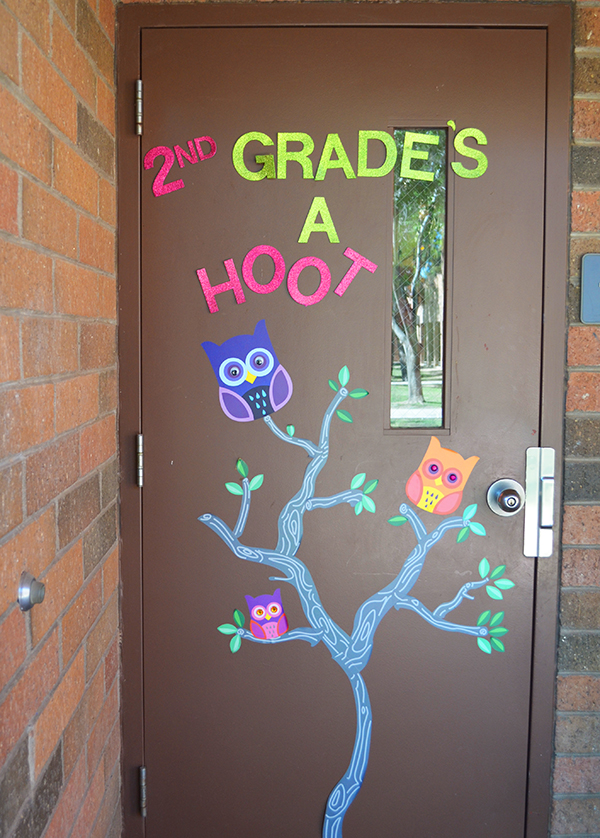
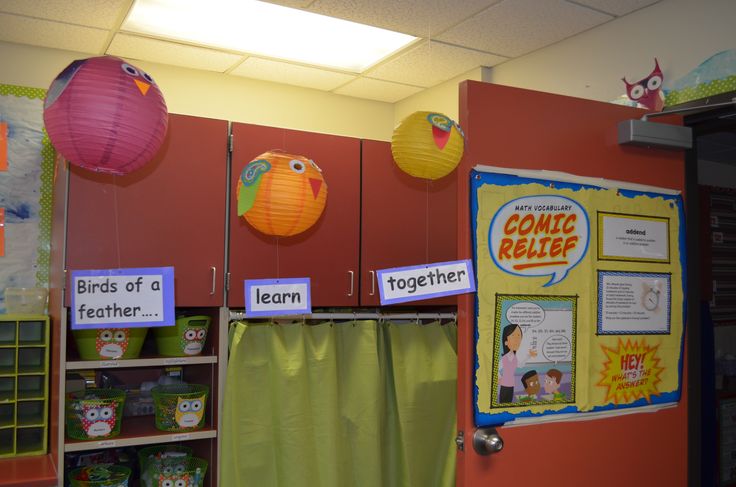
 Finally, I made these adorable owl cupcakes and wrote a special note on the door as a hint to the big surprise.